Qwiklabs の「Google Cloud の Kubernetes」を進めていきたいと思います。
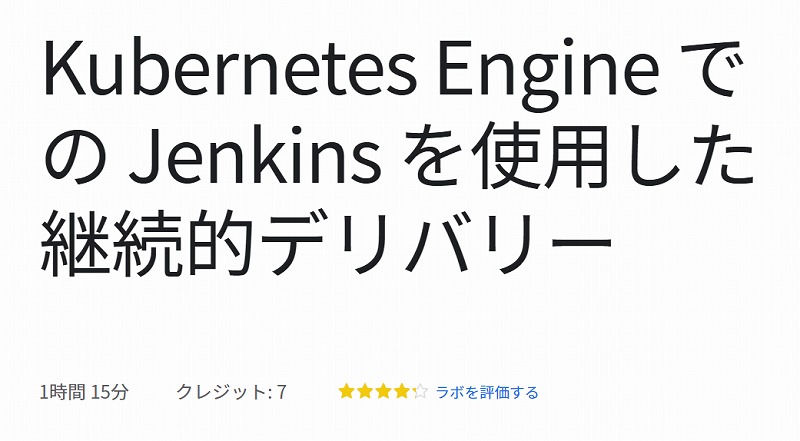
Kubernetes Engine での Jenkins を使用した継続的デリバリー
概要
Kubernetes Engine で Jenkins を使用して継続的デリバリーパイプラインを設定する方法を学びます。
コマンド
リポジトリのクローンを作成する
gcloud config set compute/zone us-east1-d
git clone https://github.com/GoogleCloudPlatform/continuous-deployment-on-kubernetes.git
cd continuous-deployment-on-kubernetes
Jenkins をプロビジョニングする
gcloud container clusters create jenkins-cd --num-nodes 2 --machine-type n1-standard-2 --scopes "https://www.googleapis.com/auth/source.read_write,cloud-platform"
gcloud container clusters list
gcloud container clusters get-credentials jenkins-cd
kubectl cluster-info
Helm をインストールする
wget https://storage.googleapis.com/kubernetes-helm/helm-v2.14.1-linux-amd64.tar.gz
tar zxfv helm-v2.14.1-linux-amd64.tar.gz
cp linux-amd64/helm .
kubectl create clusterrolebinding cluster-admin-binding --clusterrole=cluster-admin --user=$(gcloud config get-value account)
kubectl create serviceaccount tiller --namespace kube-system
kubectl create clusterrolebinding tiller-admin-binding --clusterrole=cluster-admin --serviceaccount=kube-system:tiller
./helm init --service-account=tiller
./helm update
./helm version
Jenkins を構成、インストールする
./helm install -n cd stable/jenkins -f jenkins/values.yaml --version 1.2.2 --wait
kubectl get pods
kubectl create clusterrolebinding jenkins-deploy --clusterrole=cluster-admin --serviceaccount=default:cd-jenkins
export POD_NAME=$(kubectl get pods --namespace default -l "app.kubernetes.io/component=jenkins-master" -l "app.kubernetes.io/instance=cd" -o jsonpath="{.items[0].metadata.name}")
echo $POD_NAME
kubectl port-forward $POD_NAME 8080:8080 >> /dev/null &
kubectl get svc
Jenkins に接続する
下記のコマンドを実行して、adminパスワードを取得します。
printf $(kubectl get secret cd-jenkins -o jsonpath="{.data.jenkins-admin-password}" | base64 --decode);echoCloud Shell で「ウェブでプレビュー」をクリックします。
「ポート8080でプレビュー」をクリックします。
ユーザー名「admin」と上記パスワードでログインします。
アプリケーションをデプロイする
cd sample-app
kubectl create ns production
kubectl apply -f k8s/production -n production
kubectl apply -f k8s/canary -n production
kubectl apply -f k8s/services -n production
kubectl scale deployment gceme-frontend-production -n production --replicas 4
kubectl get pods -n production -l app=gceme -l role=frontend
kubectl get pods -n production -l app=gceme -l role=backend
kubectl get service gceme-frontend -n production
export FRONTEND_SERVICE_IP=$(kubectl get -o jsonpath="{.status.loadBalancer.ingress[0].ip}" --namespace=production services gceme-frontend)
echo $FRONTEND_SERVICE_IP
curl http://$FRONTEND_SERVICE_IP/version
Jenkins パイプラインを作成する
サンプルアプリのソースコードをホストするリポジトリを作成する
gcloud source repos create default
git init
git config credential.helper gcloud.sh
echo $DEVSHELL_PROJECT_ID
git remote add origin https://source.developers.google.com/p/$DEVSHELL_PROJECT_ID/r/default
git config --global user.email "[email protected]"
git config --global user.name "user1"
git add .
git commit -m "Initial commit"
git push origin master
サービス アカウントの認証情報を追加する
Jenkins の左側のナビゲーションにある「認証情報」をクリックします。
「Jenkins」をクリックします。
「グローバルドメイン」をクリックします。
「認証情報の追加」をクリックします。
「種類」プルダウンから「Google Service Account from metadata」を選択し「保存」をクリックします。
Jenkins ジョブを作成する
Jenkins の左側のナビゲーションにある「新規ジョブ作成」をクリックします。
Enter an item name に「sample-app」を設定します。
「Multibranch Pipeline」を選択して「OK」をクリックします。
「Branch Sources」セクションで「Add source」をクリックし「Git」を選択します。
「プロジェクトリポジトリ」に下記を入力します。
https://source.developers.google.com/p/<GCPプロジェクトID>/r/default「認証情報」に上記で作成した認証情報の名前を選択します。
「Scan Multibranch Pipeline Triggers」の「他のビルドが起動していなければ定期的に起動」にチェックを付け、「間隔」を「1 minute」に設定します。
「保存」をクリックします。
開発環境を作成する
開発ブランチを作成する
git checkout -b new-featureパイプラインの定義を変更する
sed -i -e 's/REPLACE_WITH_YOUR_PROJECT_ID/'$DEVSHELL_PROJECT_ID'/' Jenkinsfileサイトを変更する
sed -i -e 's/card blue/card orange/g' html.go
sed -i -e 's/"1.0.0"/"2.0.0"/' main.go
デプロイを開始する
git add Jenkinsfile html.go main.go
git commit -m "Version 2.0.0"
git push origin new-feature
Jenkins のジョブを確認します。
kubectl proxy &
curl http://localhost:8001/api/v1/namespaces/new-feature/services/gceme-frontend:80/proxy/version
カナリア リリースをデプロイする
git checkout -b canary
git push origin canary
while true; do curl http://$FRONTEND_SERVICE_IP/version; sleep 1; done
本番環境にデプロイする
git checkout master
git merge canary
git push origin master
while true; do curl http://$FRONTEND_SERVICE_IP/version; sleep 1; done
まとめ
Kubernetes Engine で Jenkins を使用して継続的デリバリーパイプラインを設定する方法を学びました。
下記のドキュメントも参照したほうがよさそうです。


コメント