Unity で簡単に2Dゲームを作ることができる Unity Playground アセットを触っていきます。
Auto Rotate
説明
Auto Rotate スクリプトは、オブジェクトを自動で回転させます。
使ってみる
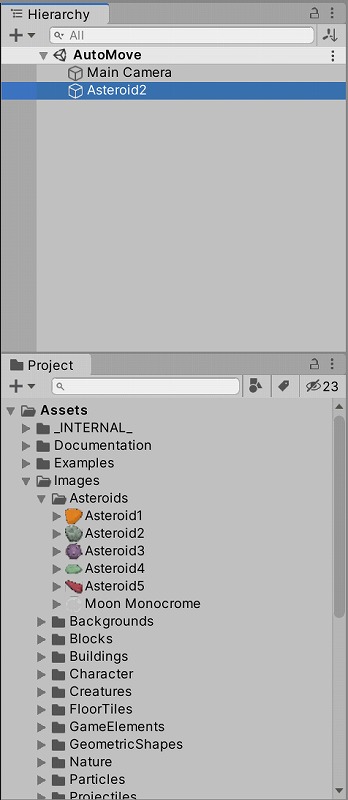
Project ウィンドウの Asteroid2 イメージを Hierarchy ウィンドウにドラッグ&ドロップします。

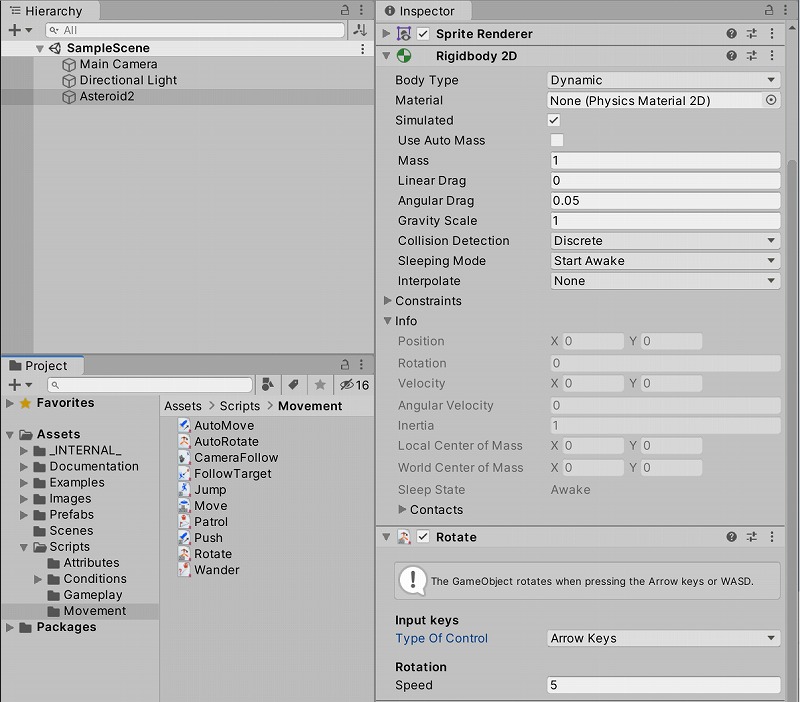
Hierarchy ウィンドウの Asteroid2 に Project ウィンドウの AutoRotate スクリプトをドラッグ&ドロップします。

Play ボタンでゲームを開始すると、Asteroid2 は下に落ちていきます。
重力が働いているので、重力を無効にしましょう。
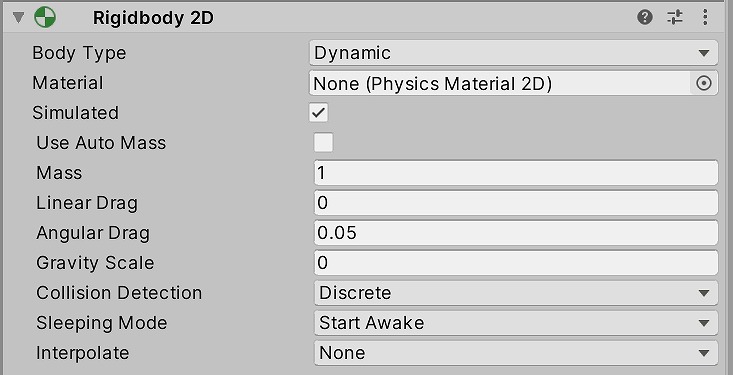
Rigidbody 2D の Gravity Scale を 0 にします。

もう一度 Play ボタンを押すと、その場にとどまります。
矢印キーの左右を押してみましょう。
Asteroid2 が回転します。
スクリプトを見る
AutoRotate スクリプトをダブルクリックすると、ソースコードを見ることができます。
using UnityEngine;
using System.Collections;

[AddComponentMenu("Playground/Movement/Rotate")]
[RequireComponent(typeof(Rigidbody2D))]
public class Rotate : Physics2DObject
{
	[Header("Input keys")]
	public Enums.KeyGroups typeOfControl = Enums.KeyGroups.ArrowKeys;

	[Header("Rotation")]
	public float speed = 5f;

	private float spin;


	// Update gets called every frame
	void Update ()
	{
		// Register the spin from the player input
		// Moving with the arrow keys
		if(typeOfControl == Enums.KeyGroups.ArrowKeys)
		{
			spin = Input.GetAxis("Horizontal");
		}
		else
		{
			spin = Input.GetAxis("Horizontal2");
		}
	}


	// FixedUpdate is called every frame when the physics are calculated
	void FixedUpdate ()
	{
		// Apply the torque to the Rigidbody2D
		rigidbody2D.AddTorque(-spin * speed);
	}
}
↓こちらのメソッドを使用して、オブジェクトを回転させています。
rigidbody2D.AddTorque(float torque);
AddTorque メソッドの使い方は、スクリプトリファレンスを参照しましょう。
Rigidbody2D-AddTorque - Unity スクリプトリファレンス
Rigidbody の重心にトルクを適用します
まとめ
AutoRotate スクリプトは、単にオブジェクトを回転させるだけの機能を持っています。
簡単な機能を組み合わせることにより、複雑なことができるようになります。
1個1個使いこなせるようになっていきましょう。


コメント