Unity の Project TCC を触って、Unity の機能を学んでいきましょう。
Project TCC で遊ぼう~UC-01-02 Walk and Run: キャラクターを走らせる~

UC-01-02 Walk and Run
変更点の確認
UC-01-02_Walk_and_Run シーンを開きます。
Unityエディター上で再生して、ユニティちゃんを走らせてみましょう。
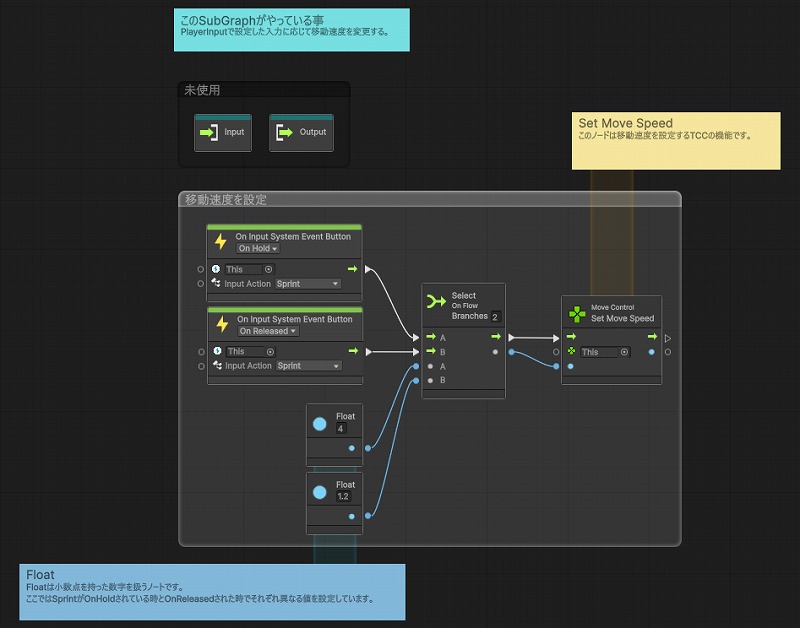
UC-01-01_Walk シーンと違うところは、Player オブジェクトの Script Machine に Sprint の処理が追加されています。
Shift キーを押している間、移動速度が大きくなっています。
シーンの複製
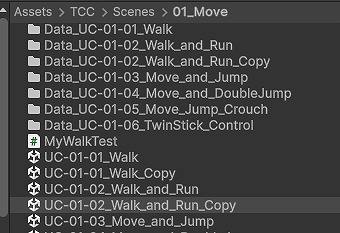
UC-01-01_Walk シーンを複製して、UC-01-02_Walk_and_Run_Copy という名前にします。
Input Action Asset の設定
Assets/TCC/Scenes/01_Move/Data_UC-01-01_Walk フォルダを複製します。
フォルダ名は Data_UC-01-02_Walk_and_Run_Copy にします。
フォルダの中身のファイルもリネームします。
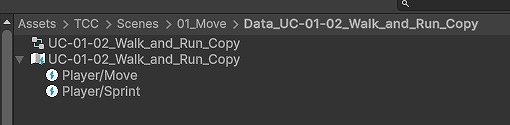
Input Action Asset(UC-01-02_Walk_and_Run_Copy)をダブルクリックします。
下記のような画面が表示されます。
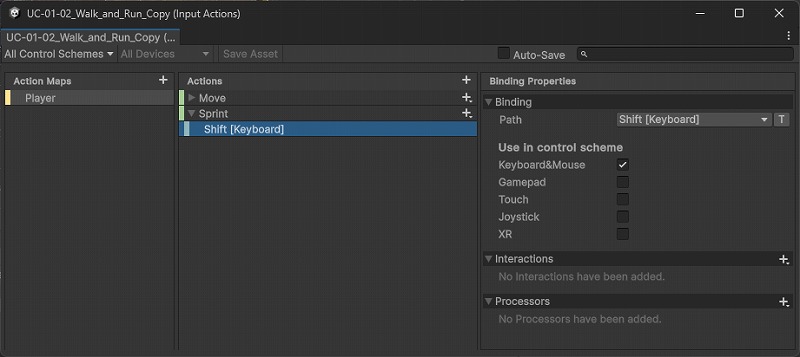
Actions の +ボタンを押して、Sprint を追加します。
Action Type は Button を選択します。
Binding では Shiftキーを割り当てます。
Use in control scheme の Keyboard&Mouse に忘れずにチェックを付けましょう。
Player オブジェクトの Player Input コンポーネントの Actions に Input Action Asset を設定します。

C# スクリプトの作成
Player オブジェクトの Script Machine は削除します。
C# スクリプトを作成します。(ここでは、前回と同じMyWalkTestという名前にします)
Player オブジェクトに MyWalkTest をくっ付けます。
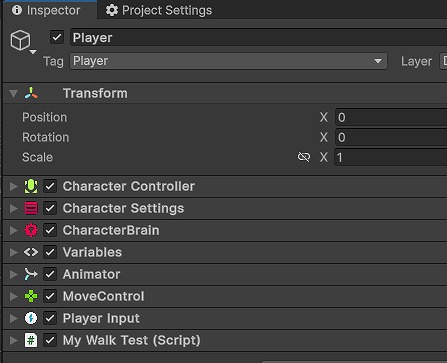
MyWalkTest の内容はこちらになります。
using Unity.TinyCharacterController.Control;
using UnityEngine;
using UnityEngine.InputSystem;

public class MyWalkTest : MonoBehaviour {
    private MoveControl m_rMoveControl;
    private Animator m_rAnimator;
    private PlayerInput m_rPlayerInput;
    private InputAction m_rMove;
    private InputAction m_rSprint;

    void Awake() {
        TryGetComponent<MoveControl>(out m_rMoveControl);
        TryGetComponent<Animator>(out m_rAnimator);
        TryGetComponent<PlayerInput>(out m_rPlayerInput);
        if (m_rPlayerInput != null) {
            m_rMove = m_rPlayerInput.actions["Move"];
            m_rSprint = m_rPlayerInput.actions["Sprint"];
        }
    }

    private void OnEnable() {
        if (m_rPlayerInput != null) {
            m_rMove.performed += OnMove;
            m_rMove.canceled += OnMoveStop;
            m_rSprint.performed += OnSprint;
            m_rSprint.canceled += OnSprintStop;
        }
    }

    private void OnDisable() {
        if (m_rPlayerInput != null) {
            m_rMove.performed -= OnMove;
            m_rMove.canceled -= OnMoveStop;
            m_rSprint.performed -= OnSprint;
            m_rSprint.canceled -= OnSprintStop;
        }
    }

    private void Update() {
        if (m_rMoveControl != null) {
            float fSpeed = m_rMoveControl.CurrentSpeed;
            if (m_rAnimator != null) {
                m_rAnimator.SetFloat("Speed", fSpeed);
            }
        }
    }

    private void OnMove(InputAction.CallbackContext context) {
        if (m_rMoveControl == null) {
            return;
        }
        Vector2 value = context.ReadValue<Vector2>();
        m_rMoveControl.Move(value);
    }

    private void OnMoveStop(InputAction.CallbackContext context) {
        if (m_rMoveControl == null) {
            return;
        }
        Vector2 value = context.ReadValue<Vector2>();
        m_rMoveControl.Move(value);
    }

    private void OnSprint(InputAction.CallbackContext context) {
        if (m_rMoveControl == null) {
            return;
        }
        m_rMoveControl.MoveSpeed = 4f;
    }

    private void OnSprintStop(InputAction.CallbackContext context) {
        if (m_rMoveControl == null) {
            return;
        }
        m_rMoveControl.MoveSpeed = 1.2f;
    }
}
動作確認
Unityエディターで再生して、動作確認します。
ユニティちゃんを走らせることが出来れば成功です。
まとめ
Project TCC のキャラクターを走らせるサンプルを Visual Scripting から C# スクリプトに変換して動かしてみました。
Input Action Asset の設定に慣れておくと良さそうです。

コメント